Manage Your Personal Profile and Settings (v8.xx)
Geniusproject allows users to manage certain parameters of their personal settings. By clicking on their name at the top right hand corner of the screen they will have access to their personal profile.

Modifying your user profile
Each user’s profile is initially defined by the system administrator but in most instances certain profile options can be modified by the users themselves. To access your user profile, select "My profile" from personal settings dropdown menu. Your profile document will open:
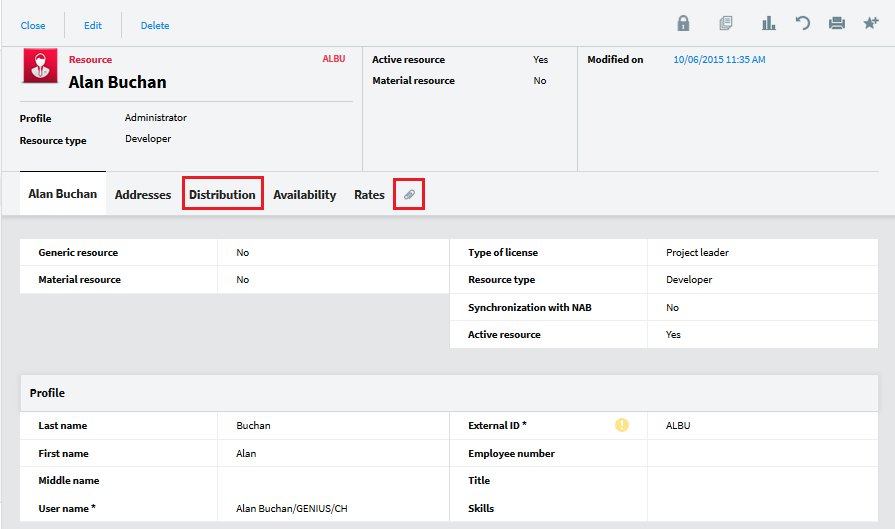
Note: By default only the [Distribution] tab are editable by the user.
Modifying your distribution profile
On the [Distribution] tab users can request notifications when certain project elements have been created or modified.


Place a check in the box next to the elements you would like to be notified about.
You can also specify whether they would like Geniusproject to "push" all tasks, "To Do's" and reply requests assigned to them, to their personal agenda Outlook, Lotus Notes, Gmail, etc.
Finally you can specify whether you would like to receive automatic notifications that you have not completed your timesheets by their due date.
Changing your Avatar
An avatar is a photo of a user’s face which Genus Project uses to represent the user in all of
Geniusproject’s social and collaborative functions.
You can attach a *.jpg of your avatar to the [Attachment] tab of your personal profile. The file must be named "picture".

To attach the file, click on the "Choose file" button.
Note: This is a function that you administrator performs.
Changing your regional settings
Often team using Geniusproject are not all at the same locations and do not use the same regional settings; the application therefore allows users to define their own regional settings. To access your profile, select "Regional settings" from the personal settings drop down menu.

The first tab is to define regional settings.
The second tab is where the user can set its time zone.

Changing your password
To change your password:
Navigate to your personal profile settings.
Click on your Personal profile menu which will displayed as your name and select "Change password".

A dialog box will open where you can enter a new password.

Enter your new password in the "New password" field. Geniusproject will simultaneously calculate the score for the new password’s level of security. The higher the percentage, the more secure the password. We recommend using an alphanumeric password combining upper and lower case characters.
Confirm your new password by re-entering it in the "Password confirmation" field. Click "OK" to save the change.
Personal calendar integration iCal
It is possible to display "Task" and "To Do" documents directly in the calendar of mail systems
supporting authentication for iCalendar feeds.
The URL to connect to is "webcal://[Database path]/iCalendar.ics?OpenAgent", where [Database path] is the full path of the Projects database that must be accessed.
For example: "gils03.geniusinside.com/test/gp/720/en/ gpEn_projects.nsf".
Warning: If you need to log in with more than one ID, make sure not to save the password, otherwise you will not be able to enter the password for the second ID. If it should happen, though, here is the procedure to delete the saved password:
In the list of programs, go to "Accessories > Execute" (keyboard shortcut <Win> +
<R>).
Type in the following command in the input box: rundll32.exe keymgr.dll, KRShowKeyMgr
Click on "OK"
In the list of saved password, spot the entry corresponding to the mail system and URL, and delete it.
Configuration for IBM Notes 8.5 and above
Open the calendar.
In the left panel "Show calendars", click on "Add calendar…".
Select the type "iCalendar feed".
Select "A private calendar (login, password and URL are needed)".
Enter the label of the calendar, the username and password that are used to connect to the Projects database.
Enter the URL "webcal://[Database path]/iCalendar.ics?OpenAgent".
Choose the formatting options.
Configuration for Outlook 2010 and above
Click on "Calendar" in the navigation bar.
In the calendar menu, click on "Open the calendar > From Internet…".
Enter the URL "webcal://[Database path]/iCalendar.ics?OpenAgent".
Enter the username and password that are used to connect to the Projects database.
Answer "Yes" to the question "Add the calendar to Outlook and subscribe to updates".
Additional View in new Tab
In general you can open one View from the Navigation. If you select an other View the first Tab will change.
To open more than one View at once Go to your name
Select "Always open Tabs"

Related Articles
Manage Your Personal Profile and Settings (v10.xx)
Cerri Project allows users to manage certain parameters of their personal settings. By clicking on their name at the top right-hand corner of the screen, they can access their personal profile. Modifying your user profile Each user’s profile is ...Non-project Related Availability, Personal Calendars (v8.xx)
An accurate forecasting of your resources should also include non-project related activities such as vacation, public holidays, and so forth. A public holiday calendar can be created and associated to specific locations, consequently impacting ...Non-Project Related Availability, Personal Calendars (v10.xx)
An accurate forecasting of your resources should also include non-project related activities such as vacation, public holidays, and so forth. A public holiday calendar can be created and associated with specific locations, consequently impacting ...Workflow Settings (Serial) (v8.xx)
General Overview: STATUS 1 (Draft): General: Responsible Resources: Author/Project leader Next Status: To Proof Security Settings: Action: Run a formula @SetField("ReviewType"; ""); @SetField("ReviewStatus"; "") STATUS 2 (To proof): General: ...Manage and Review a Project Request (v8.xx)
Depending on the workflow definition, each project request will follow a review and approval process. Different views are available to track project requests, such as the "My requests" view, designed to track the status of your personal requests. To ...